底下開發環境是在Ubuntu 14.04,你可以使用VirtualBox安裝Ubuntu 14.04,這樣你就可以同時使用Windows與Ubuntu。
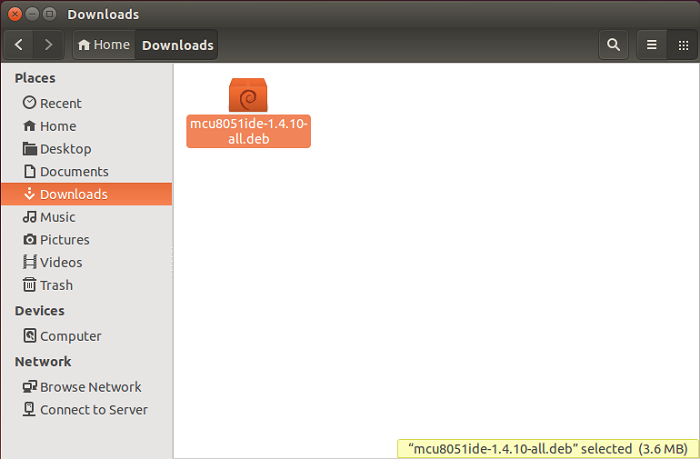
下載MCU 8051 IDE
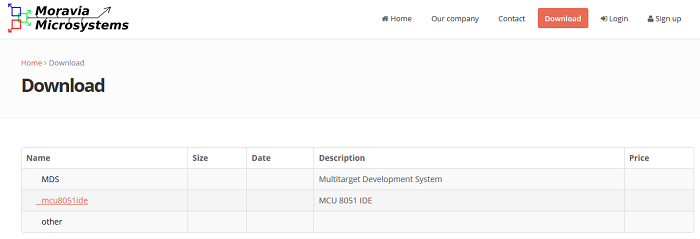
官方網站:http://www.moravia-microsystems.com/mcu-8051-ide/
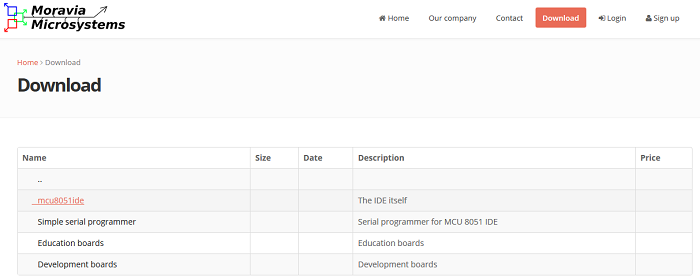
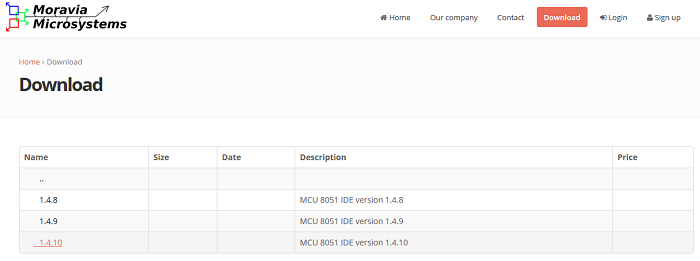
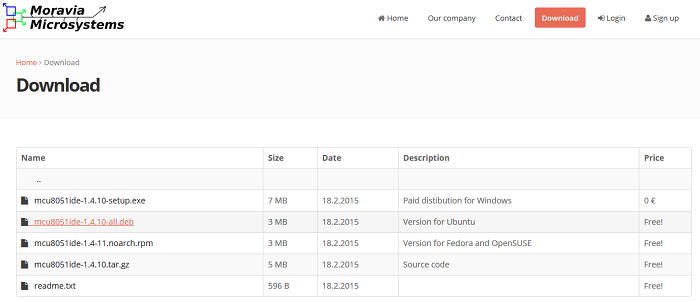
點擊『Download』->『mcu8051ide』->『mcu8051ide』->『1.4.10』->『mcu8051ide-1.4.10-all.deb』
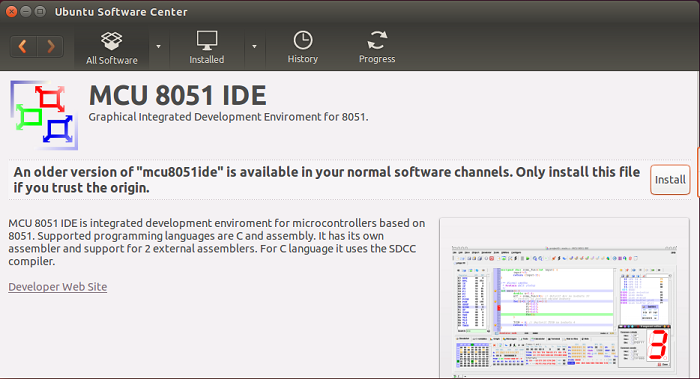
安裝MCU 8051 IDE
按兩下進行安裝
點擊Install
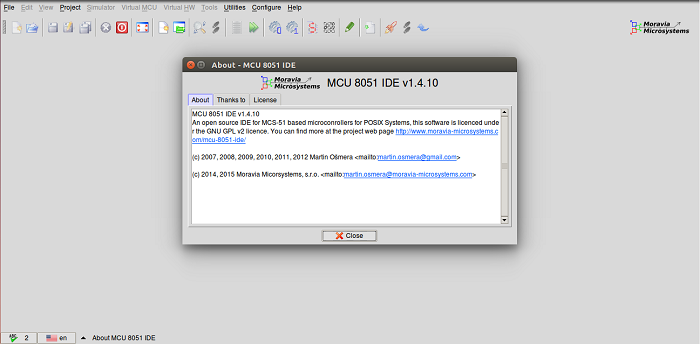
安裝完成
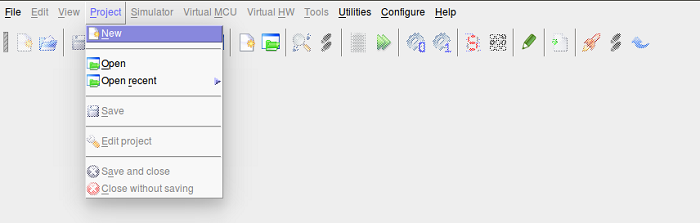
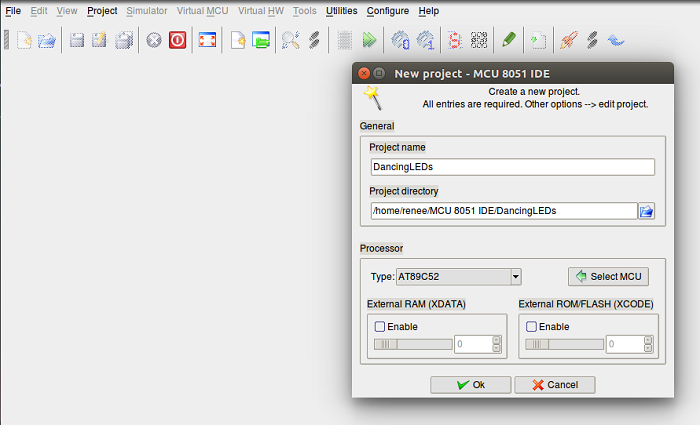
建立一個Project
點擊『Project』->『New』建立DancingLEDs project。
我是使用STC89C52RC單晶片,是大陸宏晶科技公司開發旳,相容於ATMEL的 AT89C52RC,所以Type選擇AT89C52RC。
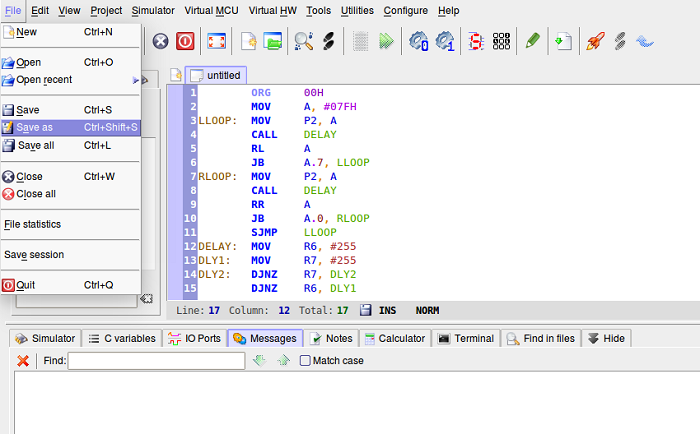
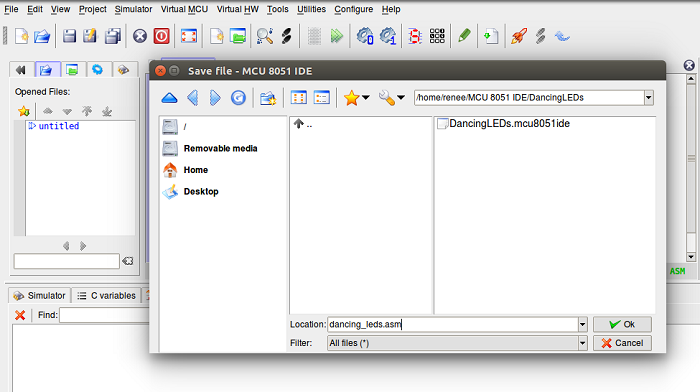
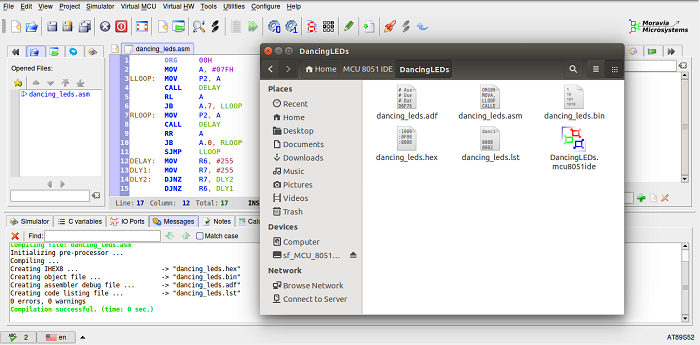
建立dancing_leds.asm檔案,並將底下簡單的LED跑馬燈範例儲存起來。
        ORG     00H
        MOV     A, #07FH
LLOOP:  MOV     P2, A
        CALL    DELAY
        RL      A
        JB      A.7, LLOOP
RLOOP:  MOV     P2, A
        CALL    DELAY
        RR      A
        JB      A.0, RLOOP
        SJMP    LLOOP
DELAY:  MOV     R6, #255
DLY1:   MOV     R7, #255
DLY2:   DJNZ    R7, DLY2
        DJNZ    R6, DLY1
        RET
        END
編譯組合語言
點擊『Tools』->『Compile』進行編譯。
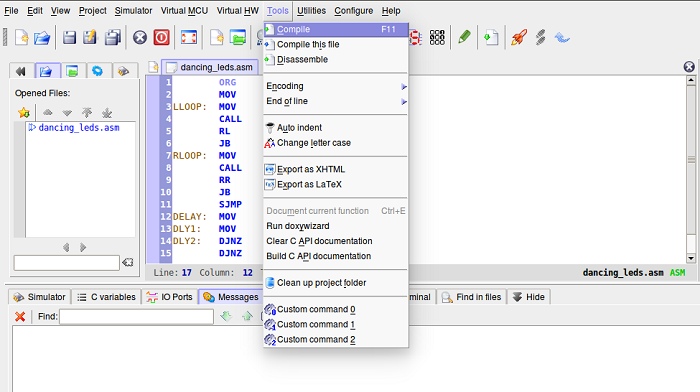
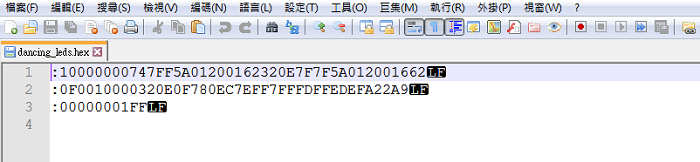
編譯後會產生dancing_leds.hex檔案。
燒入dancing_leds.hex檔案
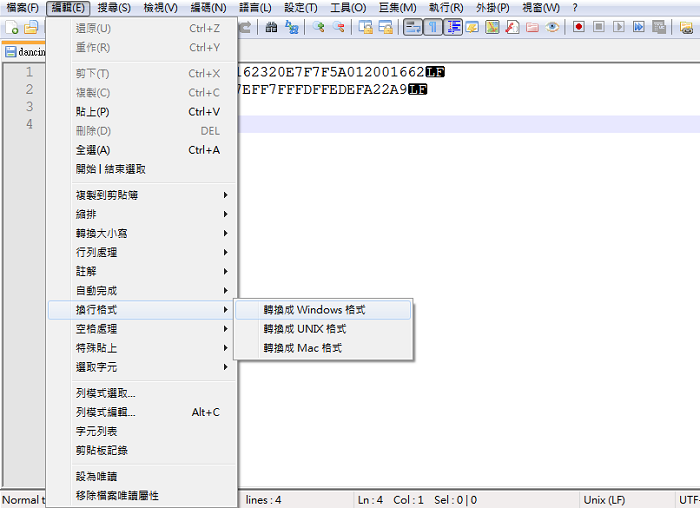
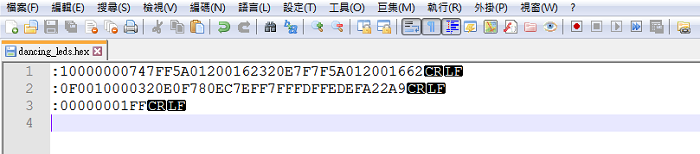
在燒入dancing_leds.hex檔案前,要透過Notepad++將此檔案內的LF換行符號換成CRLF,不然燒入後會有問題。
點擊『編輯』->『轉換成Windows格式』將LF換行符號轉換成CRLF。
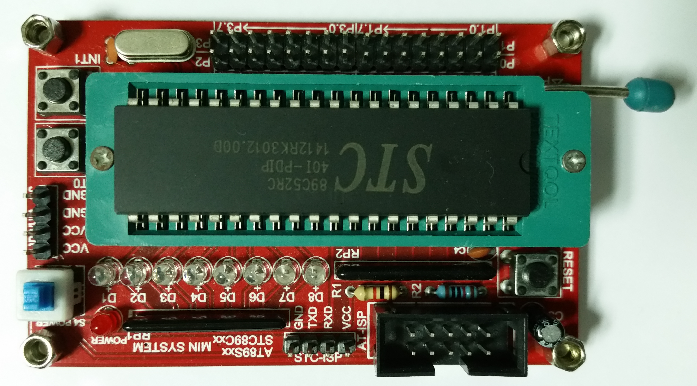
底下是我使用的燒入器。
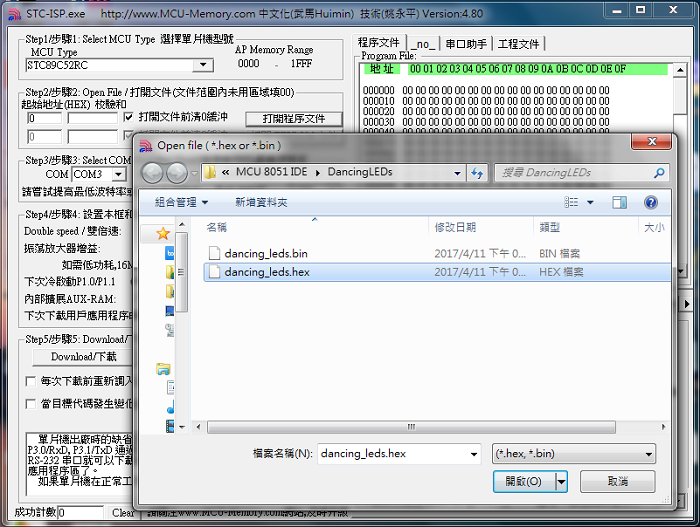
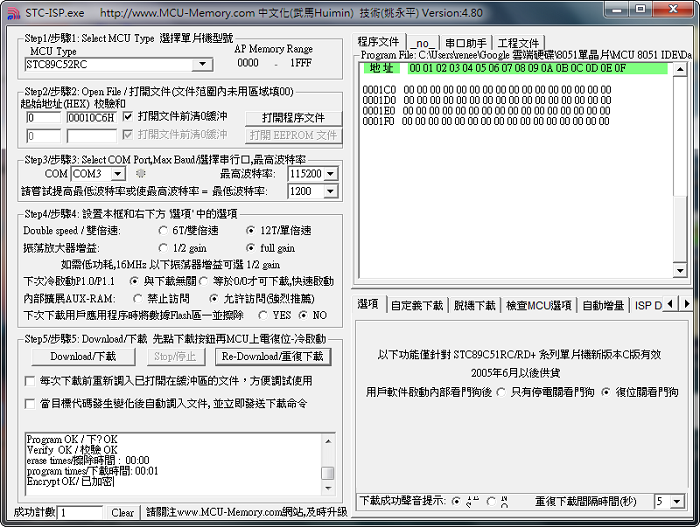
使用STC89C52RC官方提供的燒入軟體來燒入dancing_leds.hex檔案。你可以在這裡下載,不過是簡體版,你以在google找到更舊的繁體版,底下我是用4.80繁體版。

點擊『打開程序文件』,選擇dancing_leds.hex。
點擊『Download/下載』,燒入器與MCU進行交握連接。
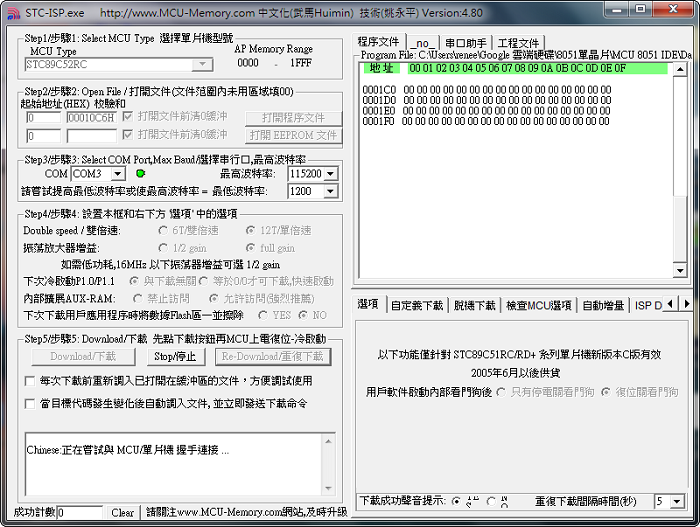
燒入軟體顯示要將MCU上電。

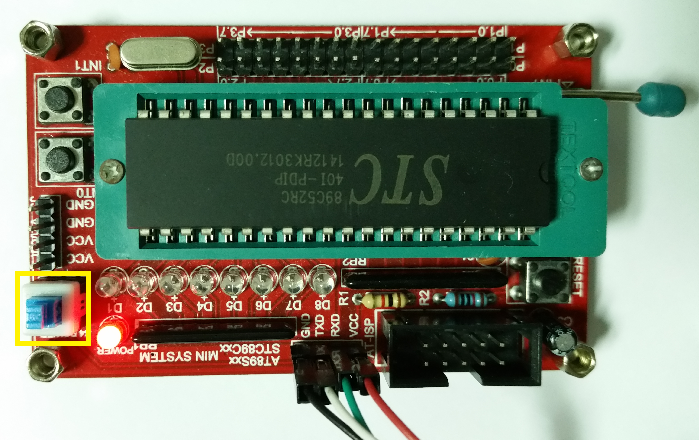
按下黃色框框的按鍵將MCU上電,這時候就會開始燒入。
燒入完成。
Demo影片:
沒有留言:
不接受新意見。